6.Solana 中 ZK Compression 的挑战与应对策略
兼容性问题:
** **Solana 中 ZK Compression 包含两个实践
接下来从客户端开发给出简单的入门案例
ZK Compression RPC API是客户端和链上程序之间的粘合剂。它扩展了 Solana 的默认JSON RPC API,并添加了用于与 ZK Compression 状态交互的端点。要查看受支持的端点的完整列表,请访问JSON RPC 方法部分。
官网给出了 TypeScript 和 Rust SDK 用于与 ZK Compression 交互的教程
| 语言 | 软件开发工具包 | 描述 |
|---|---|---|
| TypeScript | @lightprotocol/stateless.js | SDK to interact with compression programs via the ZK Compression RPC API |
| TypeScript | @lightprotocol/compressed-token | SDK to interact with the compressed token program |
| Rust | light-sdk | Rust client |
接下来我们创建一个项目命名为 zk-compression-learn,并托管到 github。
官方给了两种安装方式
| Package Manager | Command |
|---|---|
| NPM | Copyplain npm install --save \ @lightprotocol/stateless.js \ @lightprotocol/compressed-token \ @solana/web3.js \ @coral-xyz/anchor \ @lightprotocol/zk-compression-cli
|
| Yarn | Copyplain yarn add \ @lightprotocol/stateless.js \ @lightprotocol/compressed-token \ @solana/web3.js \ @coral-xyz/anchor \ @lightprotocol/zk-compression-cli
|
在启动之前,我们要先搭建一下测试环境,启动一个测试节点,主要教程参考下边的连接。
https://github.com/helius-labs/photon
我们先打开两个命令行窗口
第一步:先启动 solana 的测试环境,输入如下命令
solana-test-validator
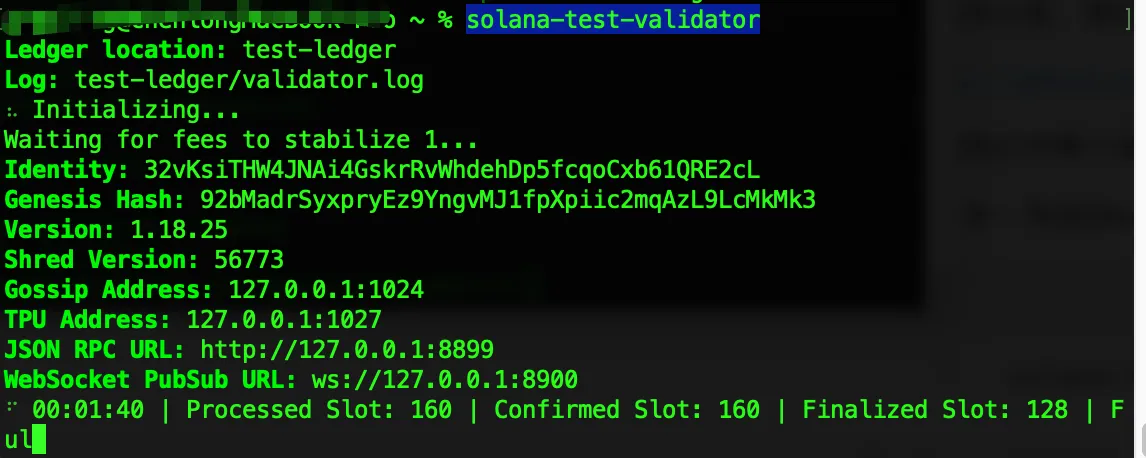
第二步:启动photon,输入如下命令
photon
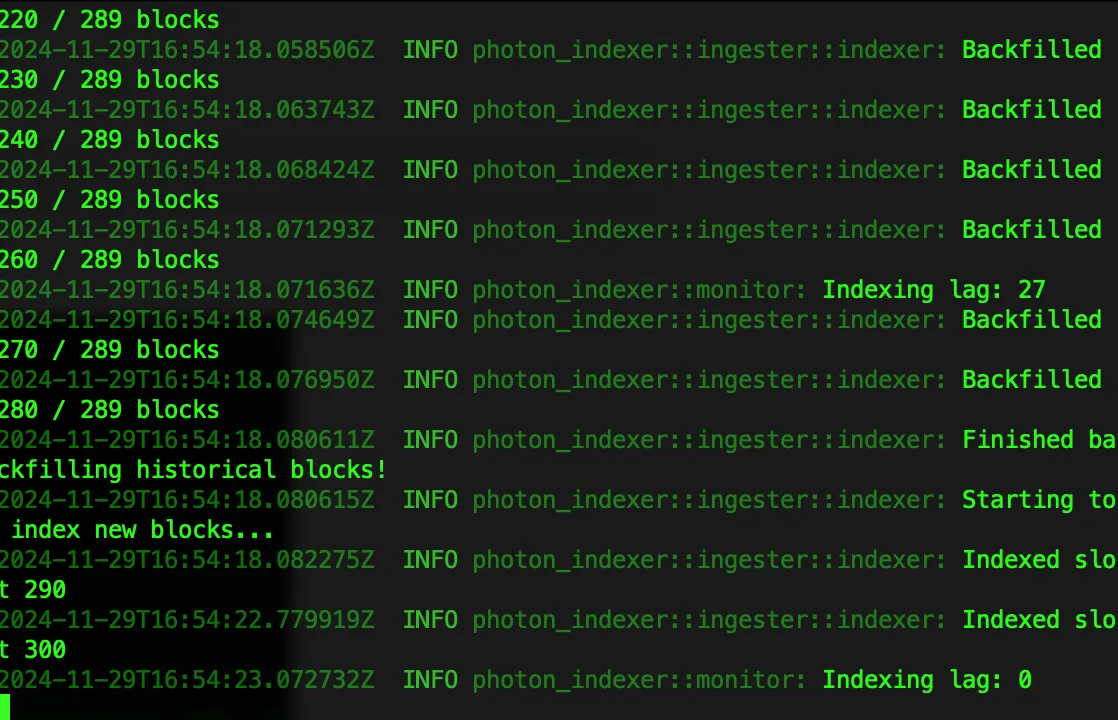
这样就启动了 solana 的本地测试环境,当然了,还有个更省事的,一键启动所有的测试环境
light test-validator
通过<font style="color:#2fff12;">light config --get</font> 命令,可以看到当前启动的端口情况
────────────── ─────────────────────
Solana RPC URL http://127.0.0.1:8899
Indexer URL    http://127.0.0.1:8784
Prover URL     http://127.0.0.1:3001
接下来,我门用官方给出的例子来对关键点几个接口进行测试,拷贝下来创建一个新项目,就 OK 了
https://github.com/Lightprotocol/example-web-client
然后进入到项目安装 zk compression 的依赖,我们这里采用第一种 NPM 的方式
npm install --save \
    @lightprotocol/stateless.js \
    @lightprotocol/compressed-token \
    @solana/web3.js \
    @coral-xyz/anchor \
    @lightprotocol/zk-compression-cli
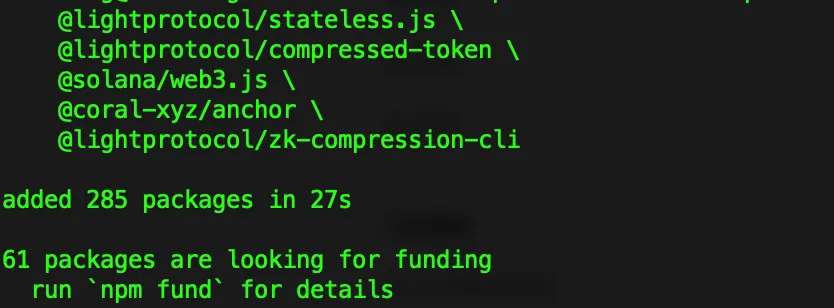
出现如下命令表示安装成功
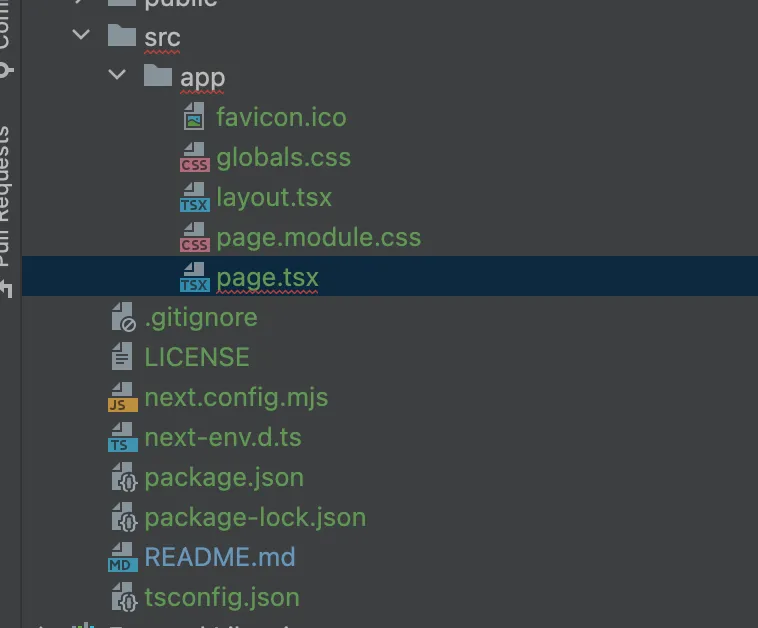
进入项目,结构如图所示
接下来,我们先来第一个案例,用于与本地的 dev 环境进行交互,代码如下
const TestConnectionButton: FC = () => {
  const onClick = useCallback(async () => {
    try {
      let slot = await connectionForTest.getSlot();
      console.log("=====" + slot);

      let health = await connectionForTest.getIndexerHealth(slot);
      console.log("+++++"+health);
      // "Ok"
    } catch (error) {
      console.error("Error testing the connection:", error);
    }
  }, []);

  return (
      <button
          style={{
            fontSize: "1rem",
            padding: "1rem",
            backgroundColor: "#ff0000",
            cursor: "pointer",
          }}
          onClick={onClick}
          disabled={!connectionForTest}
      >
        测试连接
      </button>
  );
}
启动项目,打开浏览器进行访问
会发现多了一个按钮,我们打开 F12,进入浏览器开发者模式,点击浏览器的控制台,然后再次点击我们新加入的按钮。
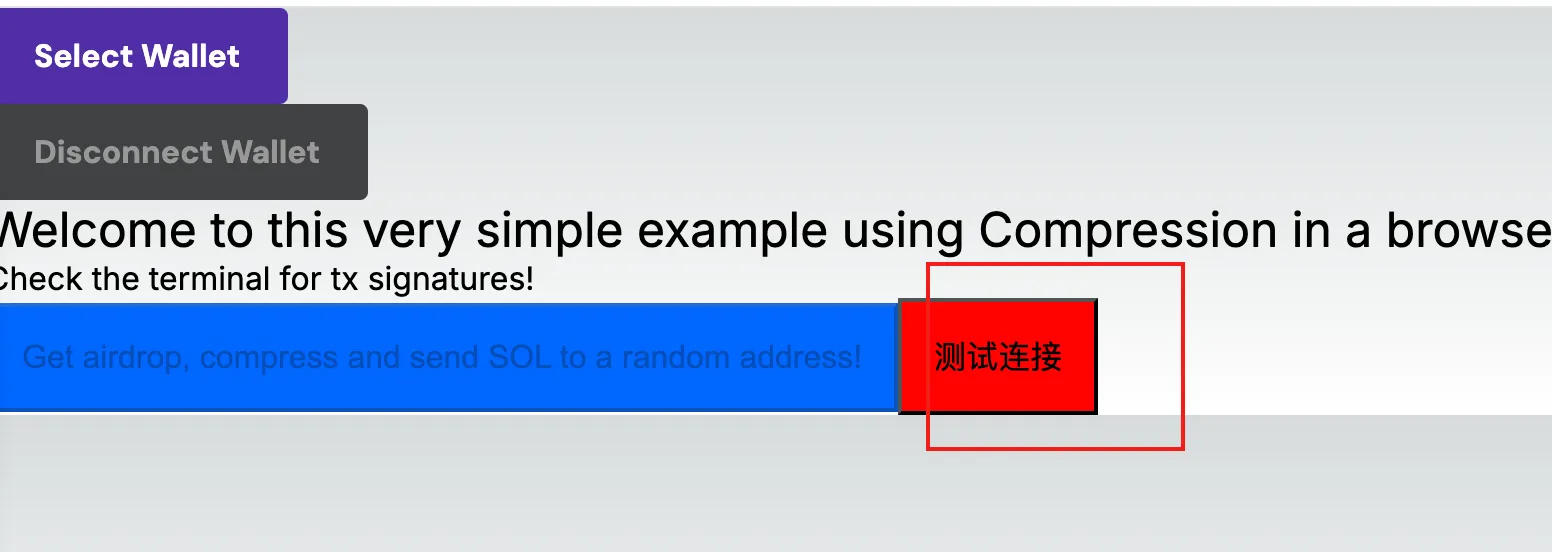
出现如下内容,表示连接成功

接下来,进行第二个案例。这个案例就是进行一系列交易操作,代码如下。
const PerformTokenOperationsButton: FC = () => {
  const { publicKey, sendTransaction } = useWallet();

  const onClick = useCallback(async () => {
    if (!publicKey) throw new WalletNotConnectedError();

    try {
      // Airdrop lamports to pay fees
      await confirmTx(
          connectionForTest,
          await connectionForTest.requestAirdrop(payer.publicKey, 10e9)
      );

      await confirmTx(
          connectionForTest,
          await connectionForTest.requestAirdrop(tokenRecipient.publicKey, 1e6)
      );

      // Create a compressed token mint
      const { mint, transactionSignature } = await createMint(
          connectionForTest,
          payer,
          payer.publicKey,
          9 // Number of decimals
      );

      console.log(`create-mint  success! txId: ${transactionSignature}`);

      // Mint compressed tokens to the payer's account
      const mintToTxId = await mintTo(
          connectionForTest,
          payer,
          mint,
          payer.publicKey, // Destination
          payer,
          1e9 // Amount
      );

      console.log(`Minted 1e9 tokens to ${payer.publicKey} was a success!`);
      console.log(`txId: ${mintToTxId}`);

      // Transfer compressed tokens
      // @ts-ignore
      const transferTxId = await transfer(
          connectionForTest,
          payer,
          mint,
          7e8, // Amount
          payer, // Owner
          tokenRecipient.publicKey // To address
      );

      console.log(`Transfer of 7e8 ${mint} to ${tokenRecipient.publicKey} was a success!`);
      console.log(`txId: ${transferTxId}`);
    } catch (error) {
      console.error("Error performing token operations:", error);
    }
  }, [publicKey, sendTransaction]);

  return (
      <button
          style={{
            fontSize: "1rem",
            padding: "1rem",
            backgroundColor: "#0066ff",
            cursor: "pointer",
          }}
          onClick={onClick}
          disabled={!publicKey}
      >
        交易操作
      </button>
  );
}
然后会生成一个新的按钮
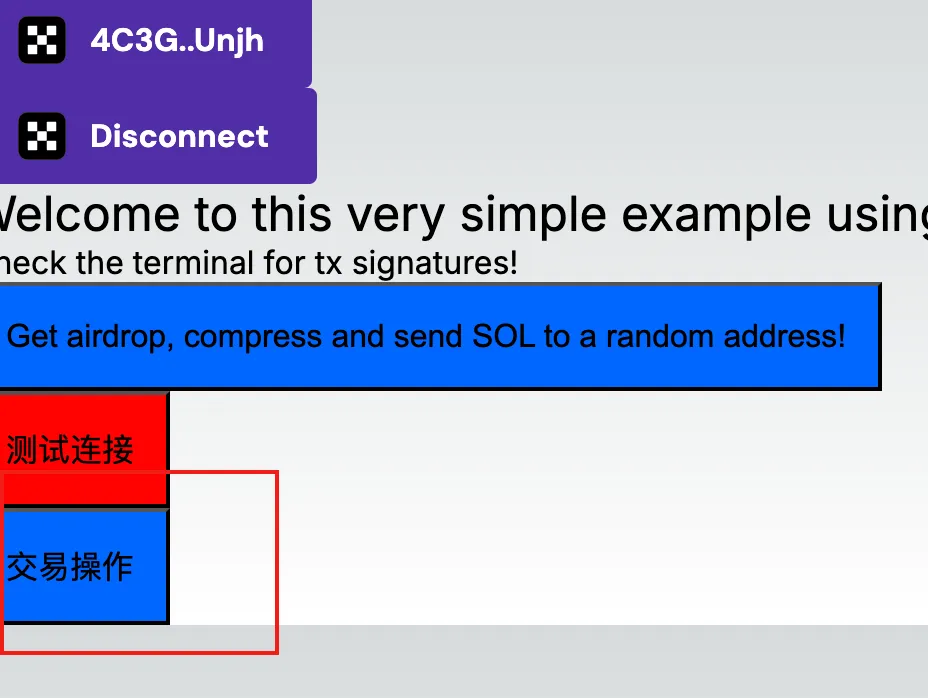
再点击这个按钮之前,我们现连接钱包,也就是项目的第一个按钮,连接钱包后,点击交易操作按钮。会生成一系列的交易信息

至此,zk compression 的介绍以及简单入门就结束啦。
详细代码请参考链接:https://github.com/rogers3333/zk-compression-learn